Remember last week when I was bitter about Columbia (South Carolina) not getting any snow. Well, I may have spoke too soon because yesterday I woke up to atleast two inches of snow!! My roomies and I grabbed all the essentials, made snow cream, and it was the most magical way to spend my snow day! I posted a picture of the snowy bliss on my Instagram which you can check out, here!
Now, let’s get into the fun!
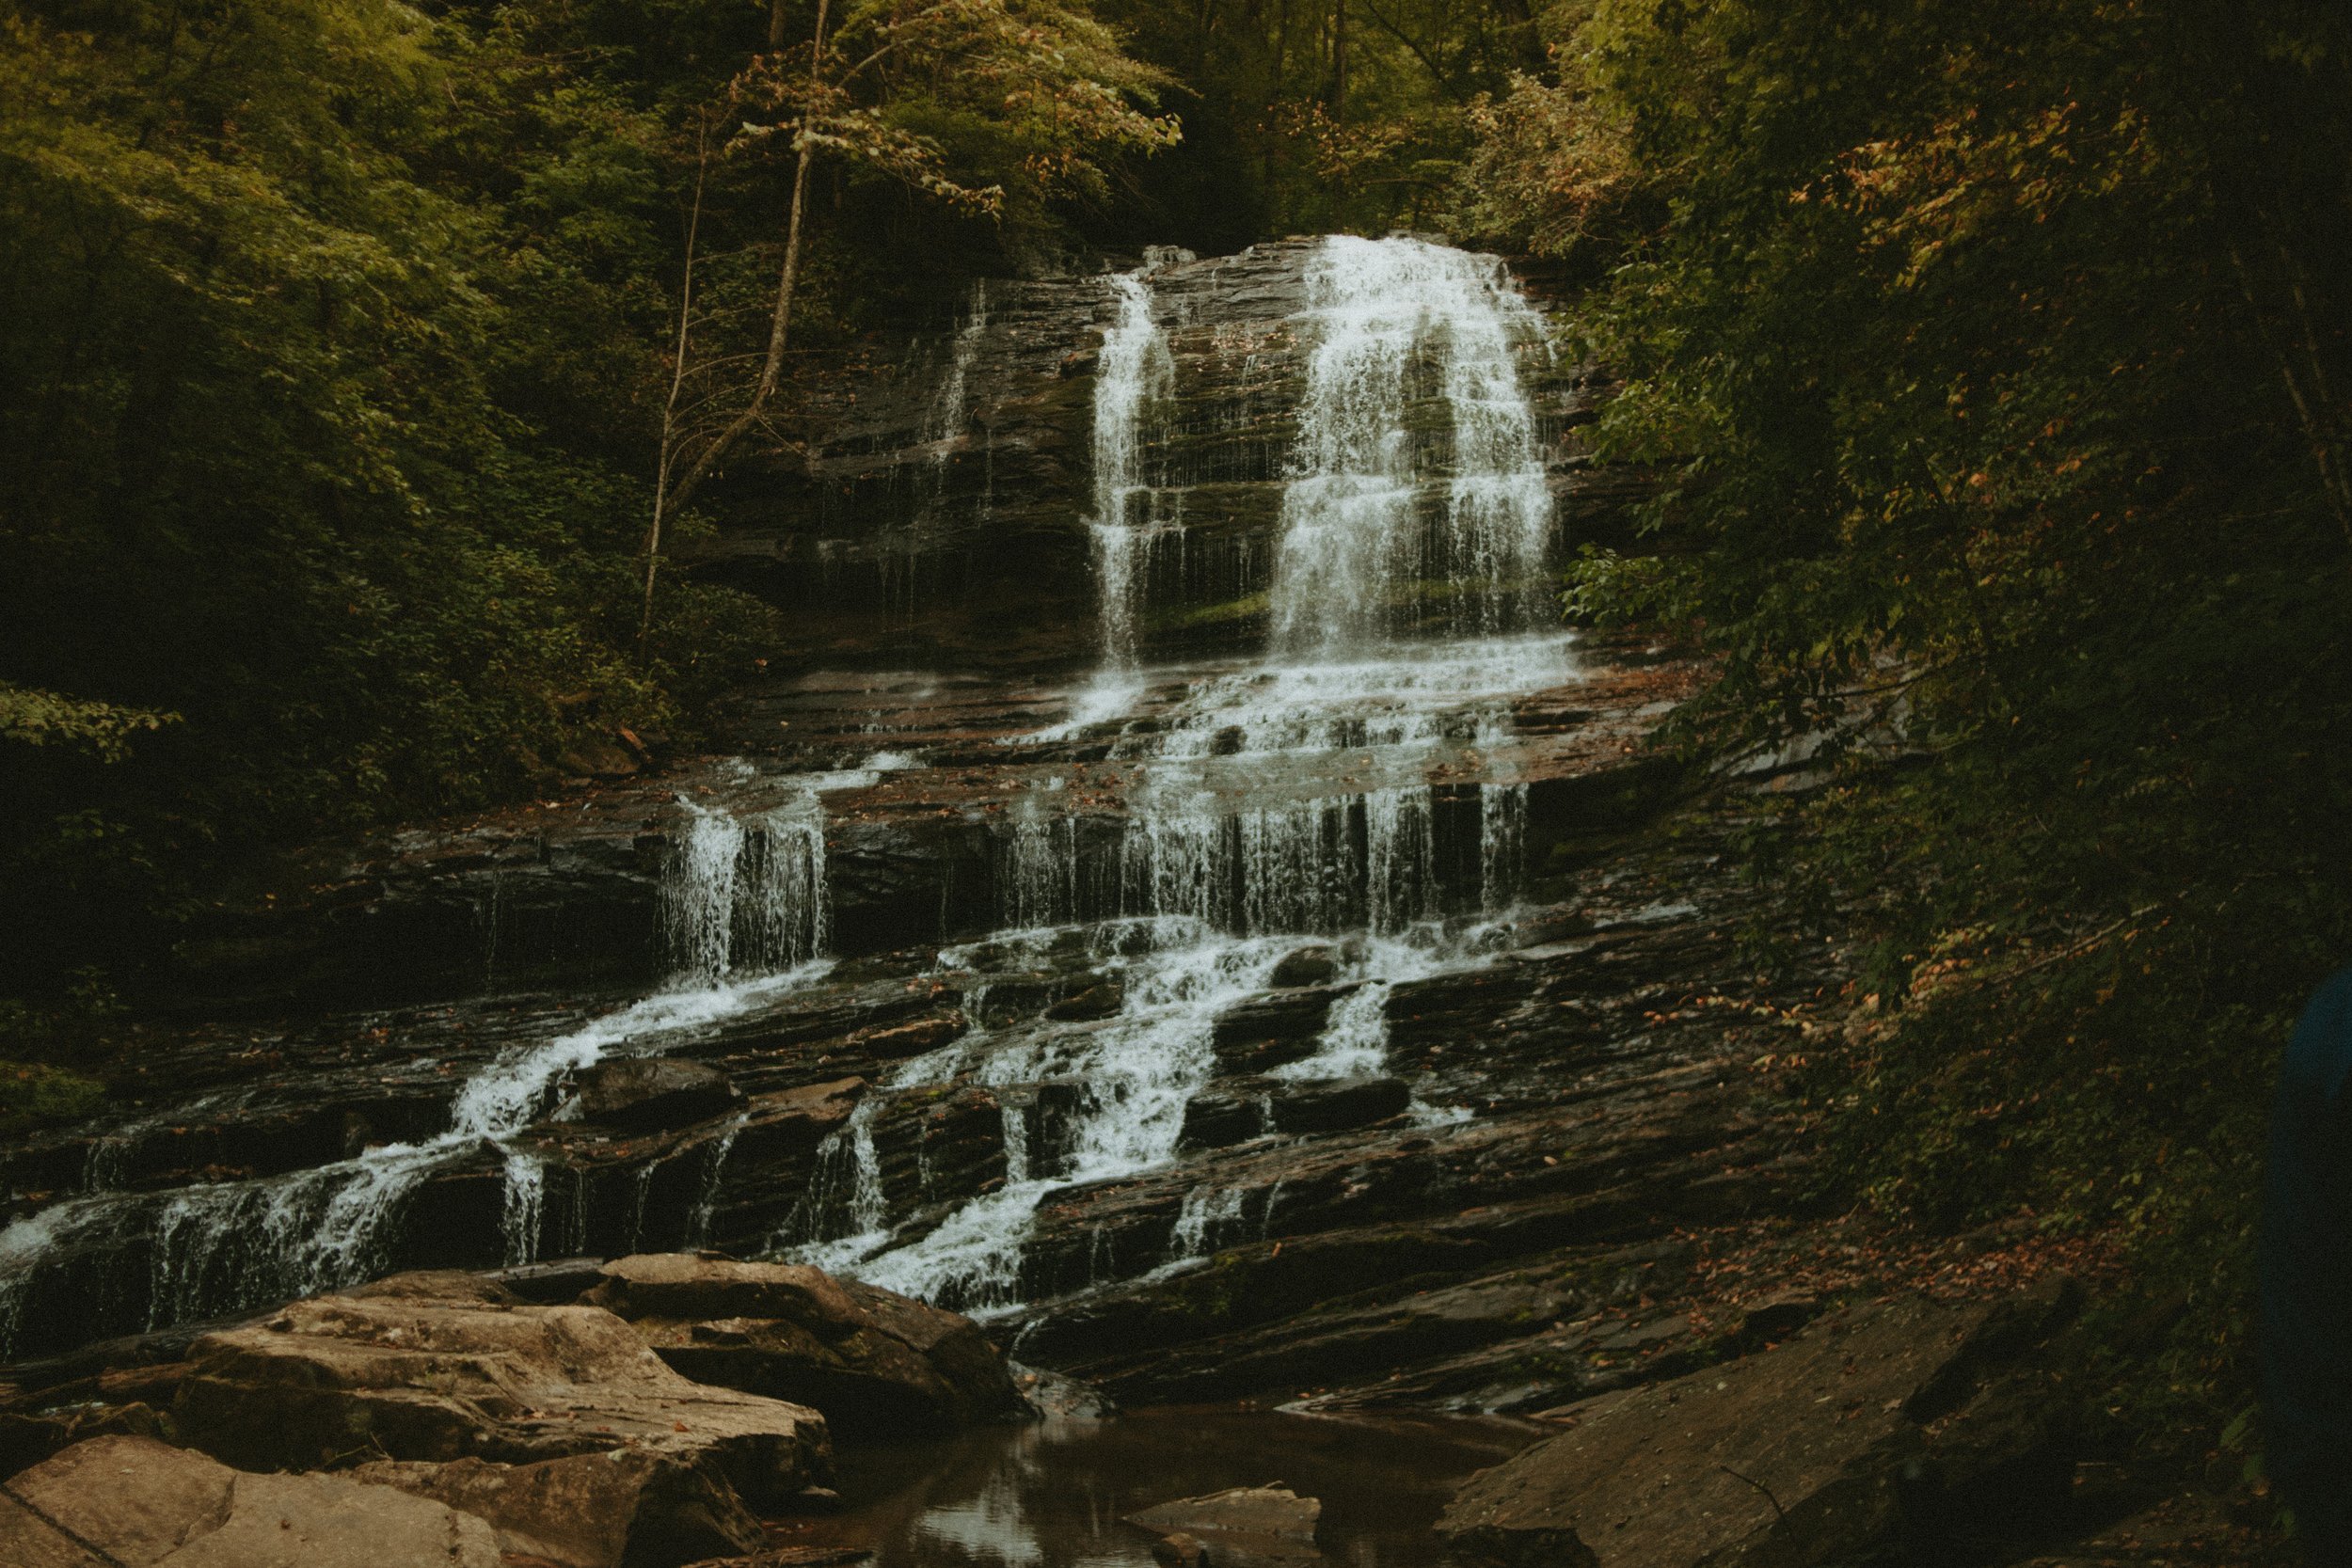
Today, I want to discuss a wedding trend I don’t ever see going out of style: Mountainside Elopements. This category of elopements has been happening for years now, but has become most popular in the last five years. With it’s sense of intimacy and endless choices of scenery, it is almost impossible to go this route. That is why I have decided to create…
The Ultimate Mountainside Elopement Guide!
In this guide, I will go over top locations in the United States, activities for the day, and more!
Let’s gooooo!
The Ultimate Mountainside Elopement Guide
STEP ONE: LOCATION
The best place to begin your elopement journey is deciding on a location! Your location will set the scene for your style and overall aesthetic.
I have put together a list of my top ten mountain locations for your big day!
Now, there are a few things to keep in mind when scouting different locations.
Hiking Level:
Say you have found the picture perfect spot, but it involves an eight mile hike. Some may be turned off by the hiking levels for different mountaintops. The best way to scout trails and difficulty is through an app called AllTrails! AllTrails goes through the trail, reviews, and more! This way you will be better prepared the day of your wedding!
Permit Applications:
Once you have found the both the ceremony and reception area, it is time to obtain proper permits for those areas! National & State Parks require permits to get married on their land. More popular parks have specific ceremony locations so, be sure to ask the park officials about this information along with any permits!
STEP TWO: ELOPEMENT ACTIVITIES
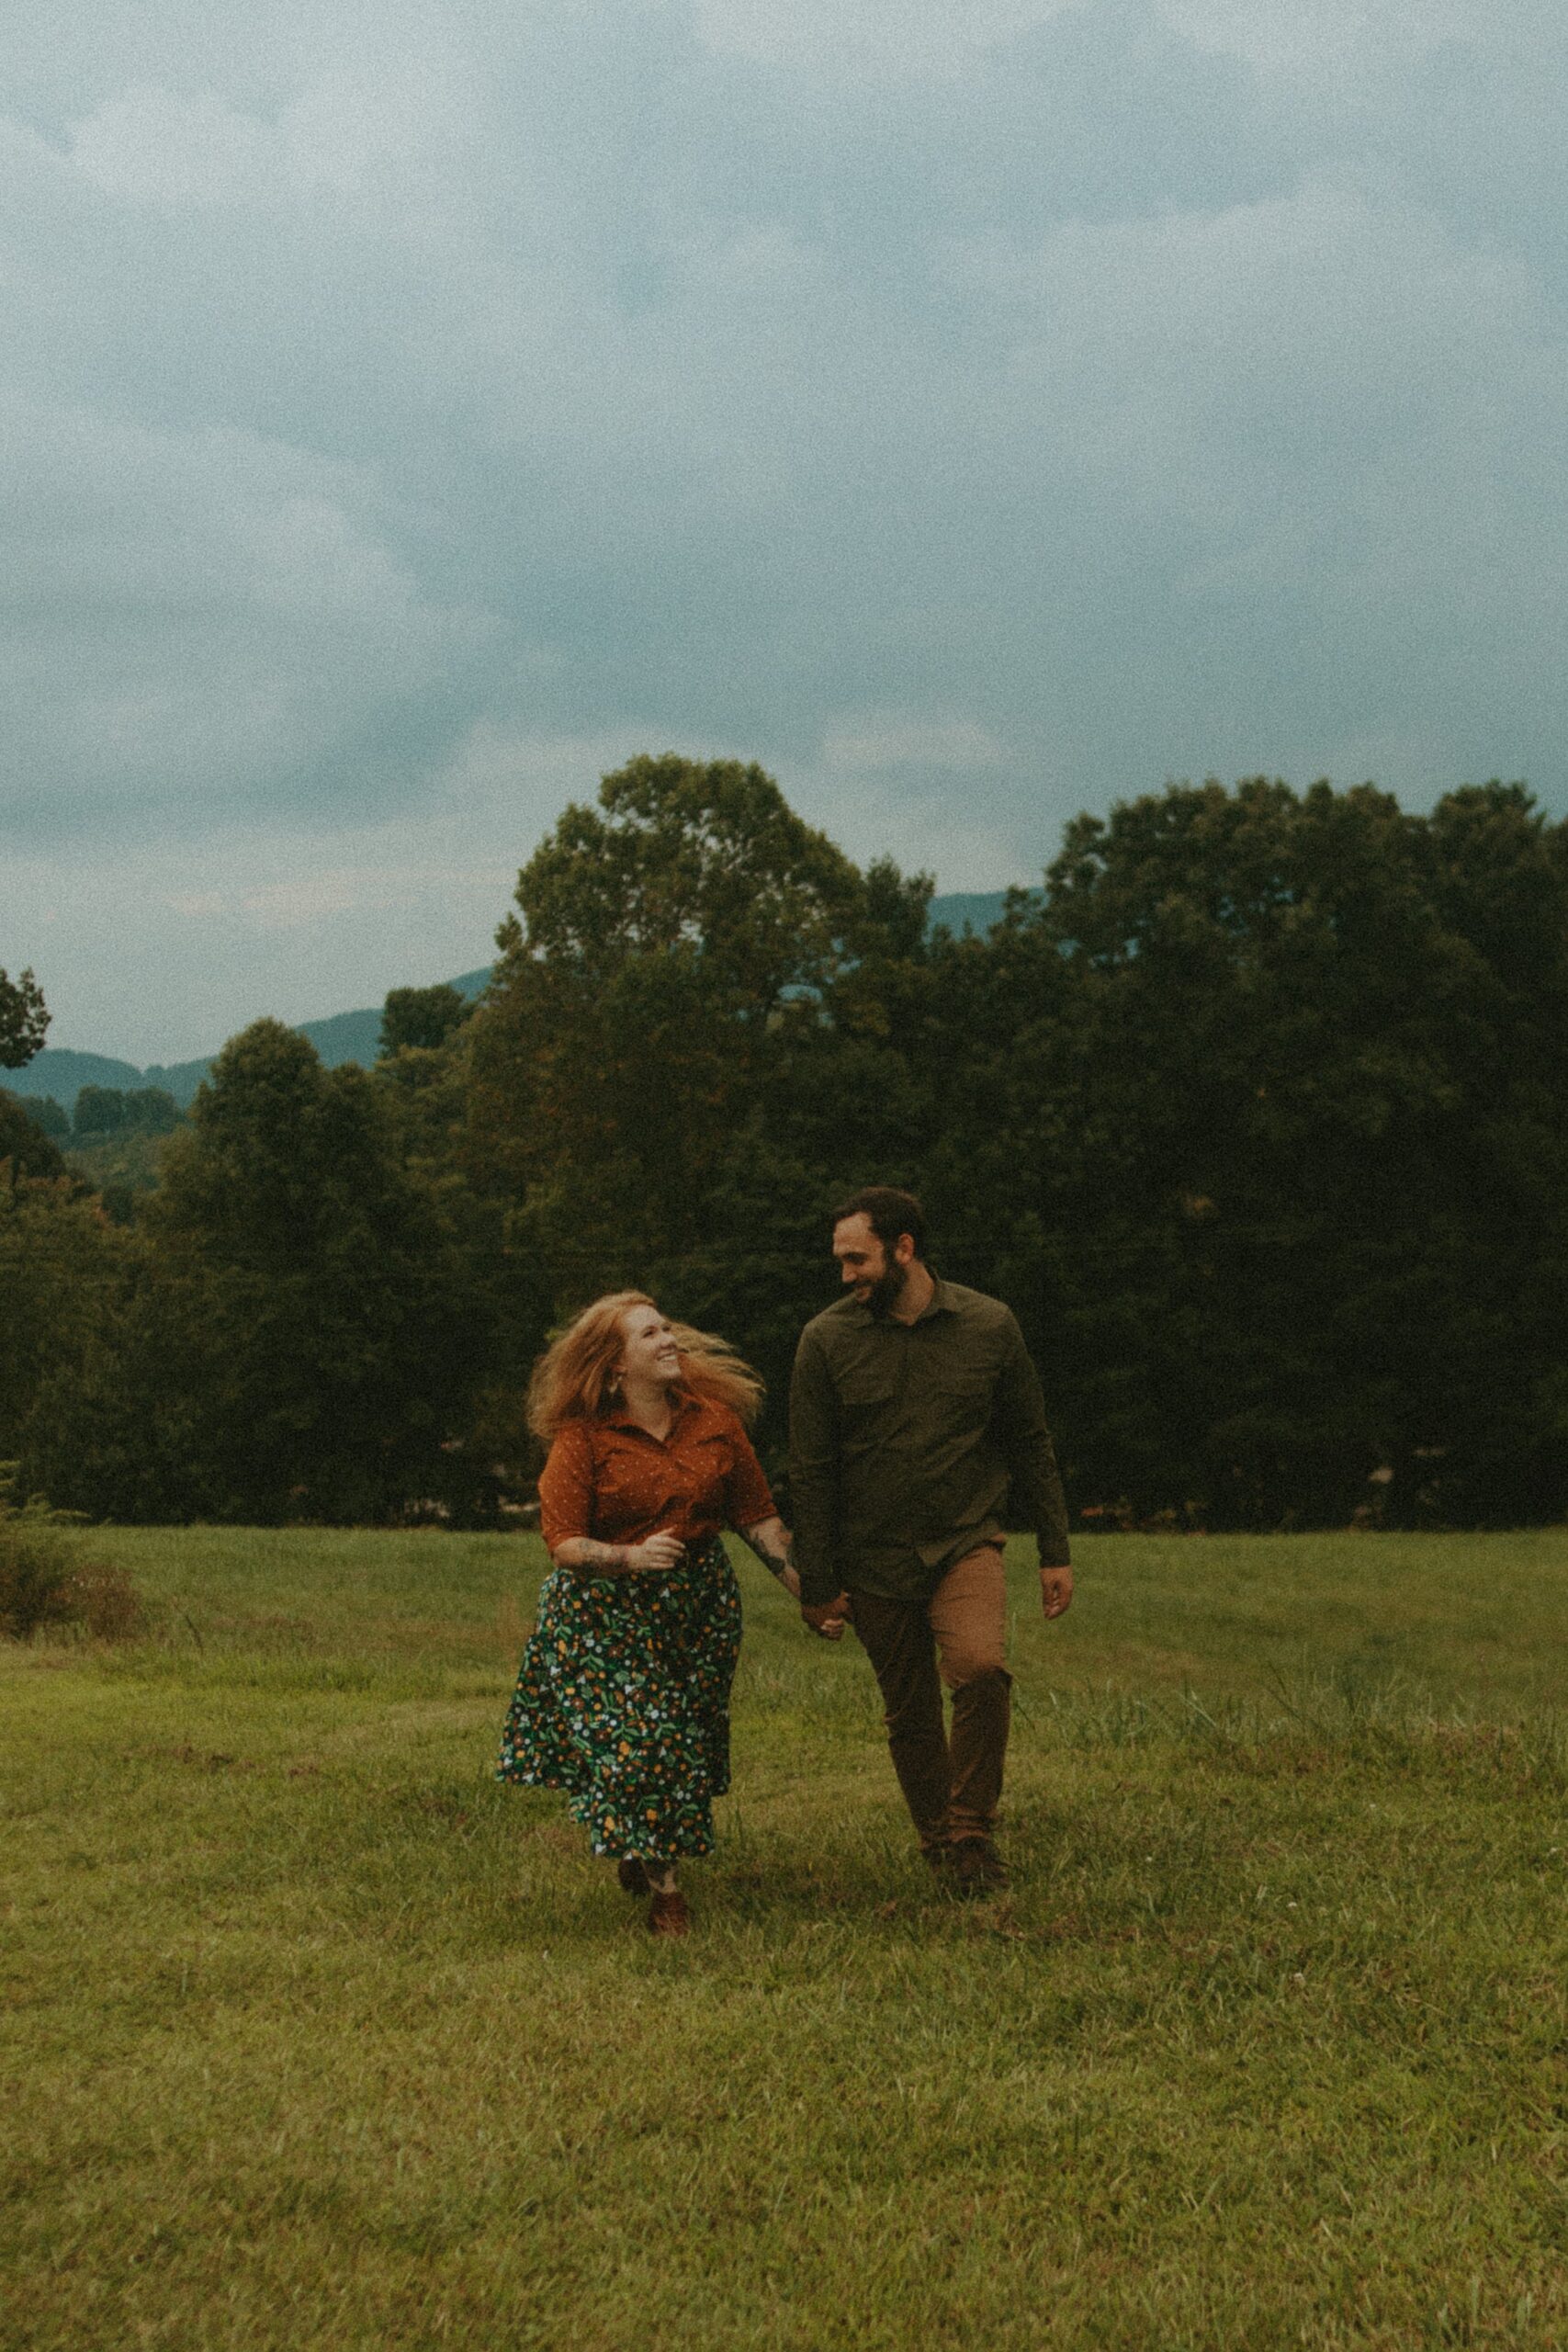
One of the reasons couples prefer elopements over weddings is because you are free to do whatever you want to do. There is no rule-book other than the one you get to design. With that freedom follows an open agenda of your elopement actives.
These activities include anything you want to do during the day from hiking, having a picnic, and more. It will be important to apply all activities into your day-of calendar to make sure you don’t get caught hiking in the dark or popping bubbly in 10 degree weather! Need more ideas on what activities you can include during your day? Check out my list below!

-
Hiking
-
Backpacking
-
Morning Yoga
-
Dinner in a close Airbnb
-
Paddleboarding
-
Camping overnight
-
Nature Hunt for a Shadowbox
-
S’mores on an open fire
STEP THREE: BOOKING VENDORS
Once you have found a location and picked your elopement activities, it is time to look into your vendors. Like I mentioned in my 2022 Vendor Guide, it is best to start shopping for vendors sooner rather than later. The types of vendors you will be wanting to look for are florist, photographer, officiant, planner, and hair and makeup.
The biggest thing to keep in mind when booking your vendors is the work it takes to get them to your location with you. You may have a handful of vendors (the officiant, the day of coordinator, photographer) who will have to hike with you. In addition to that, you will have to carry anything you want to have with you at the ceremony (flowers, rings, vows). So, be sure to be prepared!
Interested in booking your elopement photography? Click the link below!
STEP FOUR: CREATE YOUR TIMELINE
Location? Check. Activities? Check. Vendors? Check.
Now, it is time to create your timeline! Keep in mind that your elopement day is an entire story and not just the ceremony. It’s about the hike, the getting ready, the first look, and everything in between. Your elopement day deserves to be one remembered and not lost in any time management malfunctions.
The best way to create your timeline is to set different locations for your different activities. Maybe you want to stop and make coffee and an overlook halfway up the trail? Put that in and always plan a little wiggle room to make sure you aren’t rushed. Again, this day deserves to be remembered!
As I may have pieces of advice, my biggest piece is to book a elopement planner and coordinator. This person has experience and will walk you through booking, permits, timeline, and everything in between. This is helpful for couples who can’t dedicate a large chunk of time planning the elopement.

I hope this guide can be the first step in helping anyone out there looking to plan their mountainside elopement! If you have any questions or need help with any of the steps feel free to contact me and I will help with your big day!
Until next time…
xoxo-
LEAVE A COMMENT
0